|
If a picture tells a thousand words then this page should help some of you who are just getting started with inlays. Remember that we all learn the hard way so do not feel too bad if things don't go right the first time. I hope this will be a help to those of you who are just now getting started with inlay work. We older guys had to learn everything the hard way and boy did I ever make a lot of mistakes! .....*^&$%@ |
|
Getting Started The first thing we need to know is how to transfer the pre-cut inlays from the mounting board to the instrument. Never try to pry the inlays off the board because they can be quite fragile and may break. You need to soak them off in hot water until they release from the mounting board. They have been glued onto that board with water based glue so hot water will get them off easy. |
How to remove inlays, NOT!..... This was a Celtic Rosette
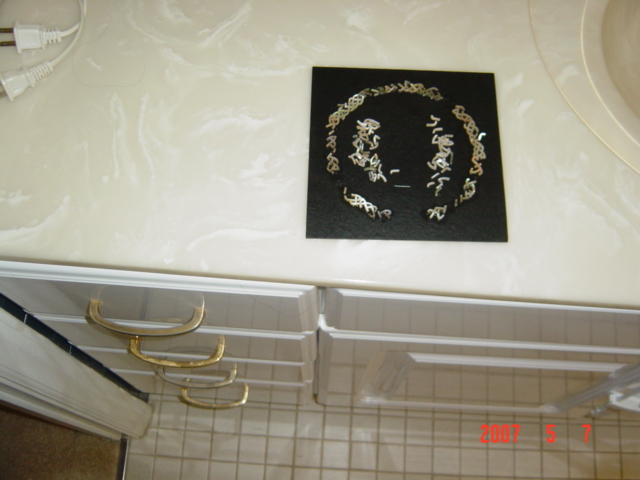
| One of our customers soaked them (The Celtic Rosette) off without going through all the steps and ended up with this mess. |
|
I was a little to blame because I didn't tell him how to do this the right way. He also did not think to ask me. He was kind enough to allow me to use his picture (above), but we will keep his name a secret. I replaced the inlays for him because I am a softy and he deserved to get what he paid for.
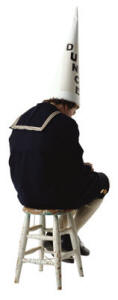
If you follow the steps shown below all should go very well and you will not feel like a dunce. I often do feel like an old fool. Always try to take your time. Do not rush. Keep your work well lit and try to know when to have a coffee break. OK, Lets have some fun..... |
Preparing Inlays
|
When you Buy pre-cut inlays from us this is most often how you will receive them. They are mounted on cardboard with a water based glue like Elmer's School Glue. NEVER EVER try to pry thee inlays off the board. They are delicate and can be broken. |
| Cut away the shrink wrap being careful to look for any sections of inlay that may have come loose. |
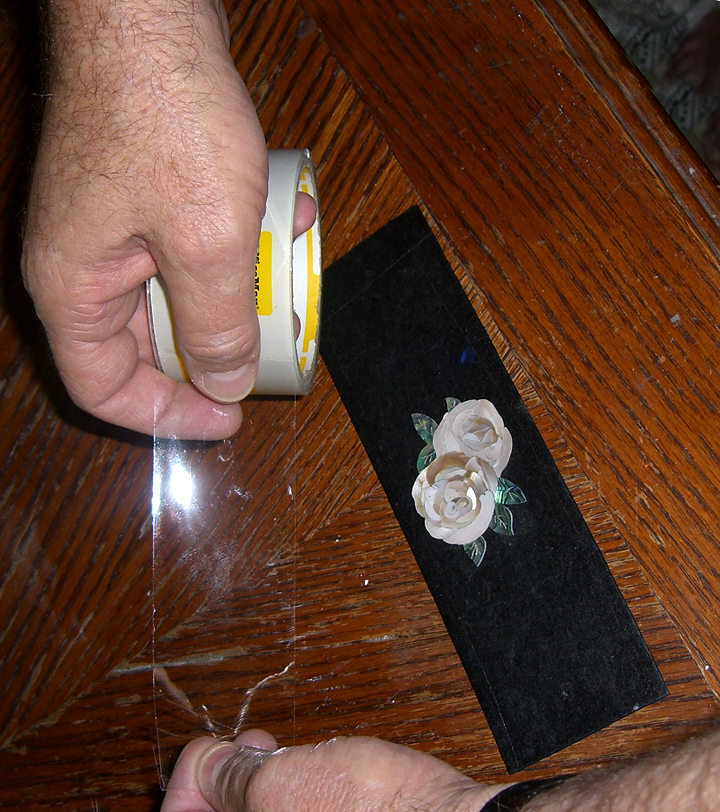
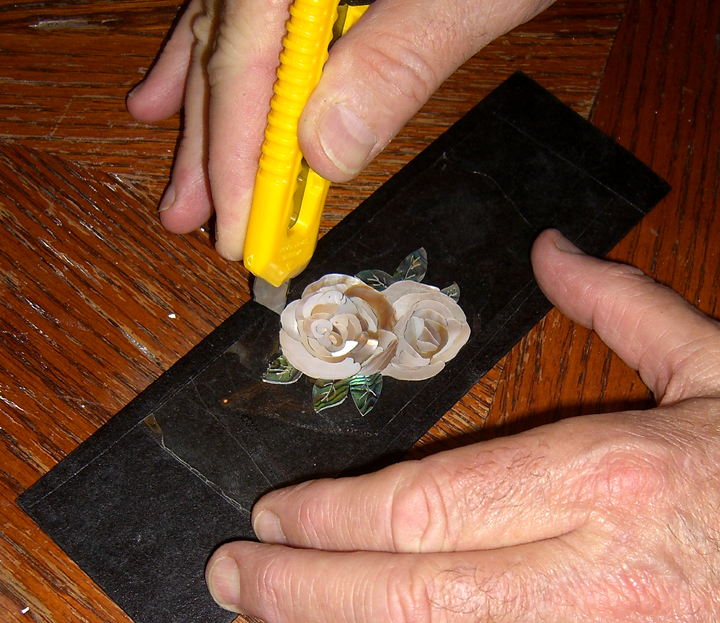
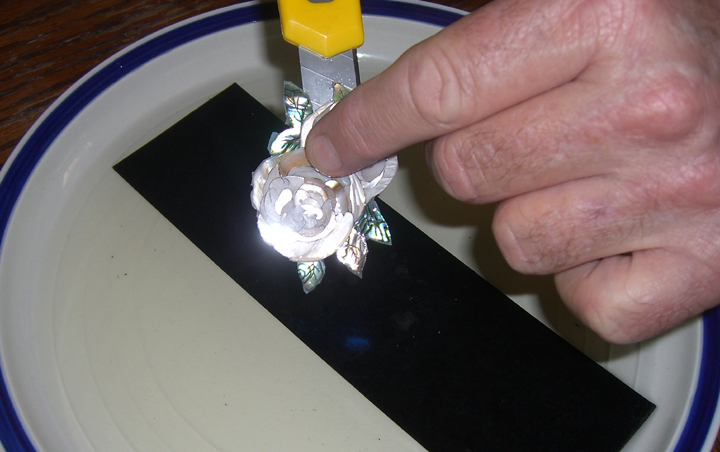
Use two inch wide scotch tape to stick over the inlay
before you try to remove it.
|
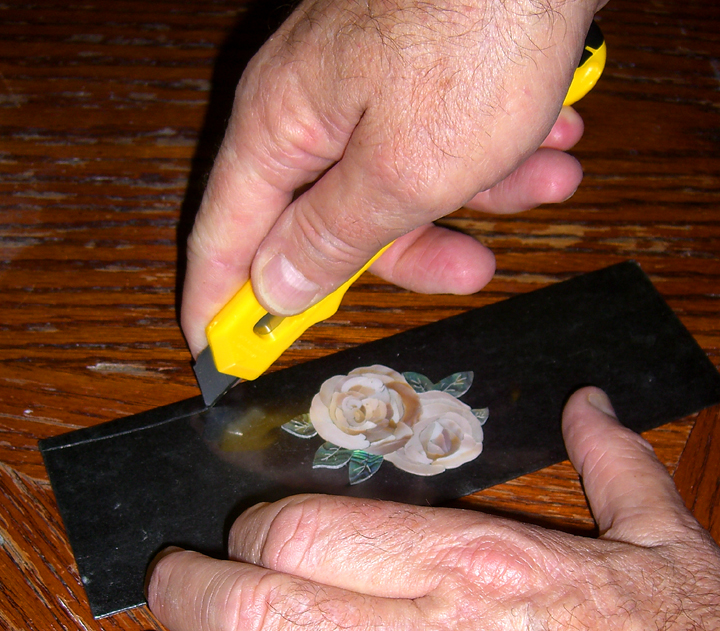
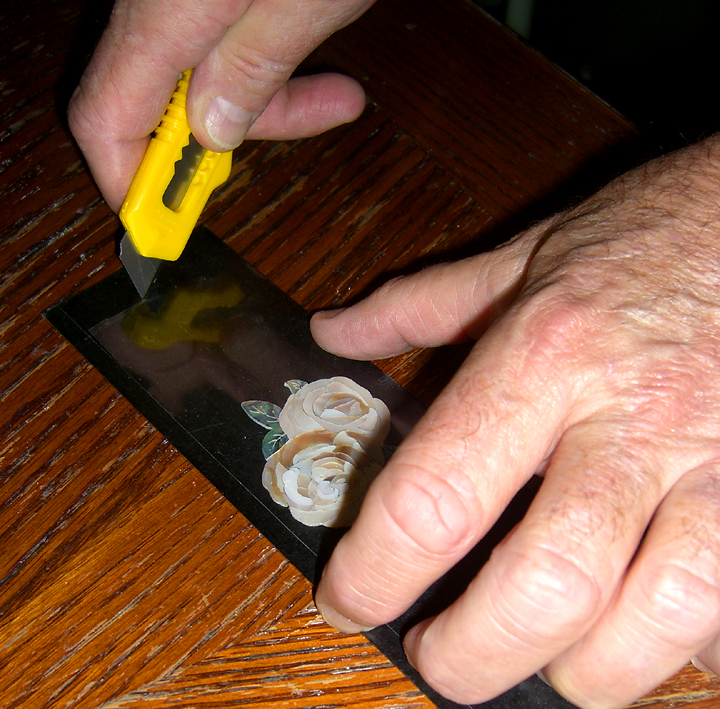
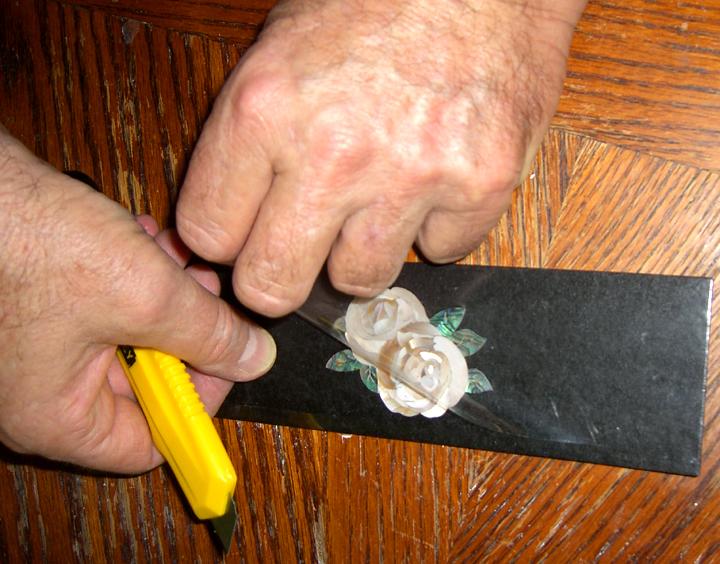
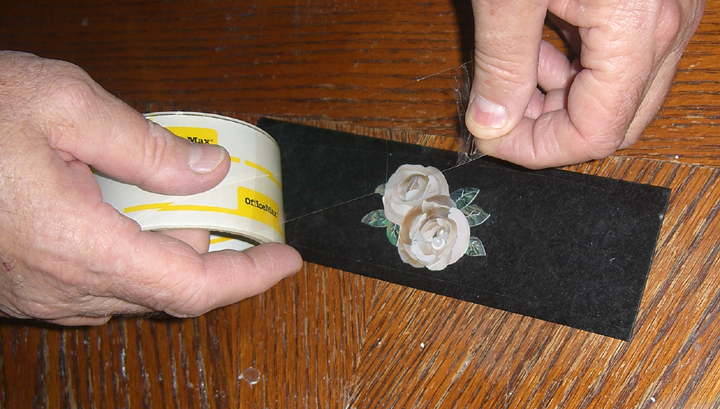
Press the tape down firmly onto every section of the shell inlay. This will keep the inlay together so it will be almost like working with a single shell blank. This Rose Inlay #2 has more than 45 sections of shell. |
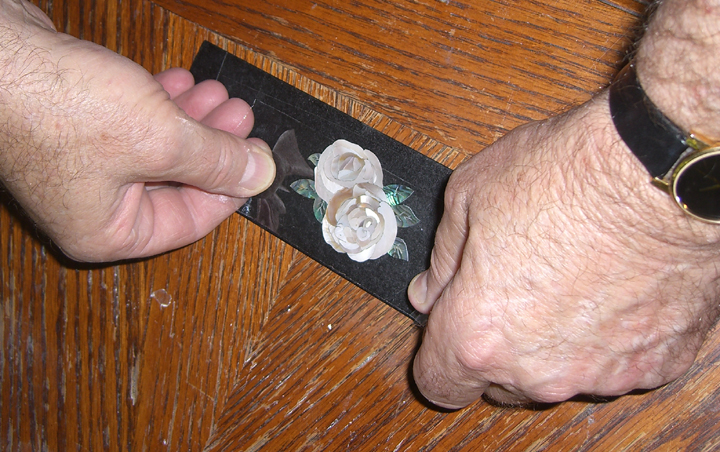
Use a sharp knife to trim away the excess tape.
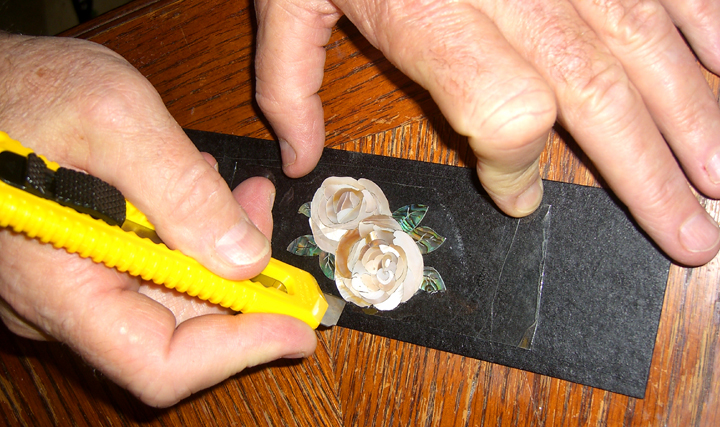
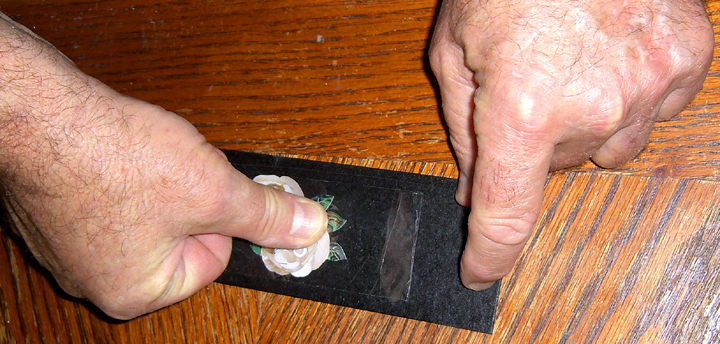
Remove the excess tape from the board.
Place the inlay and board into a dish or other pan.
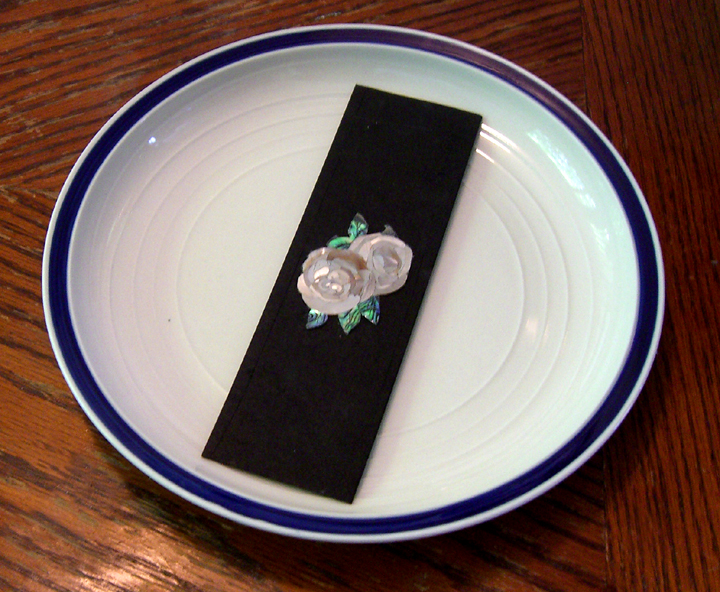
Pour very hot water over the inlay until it is covered.
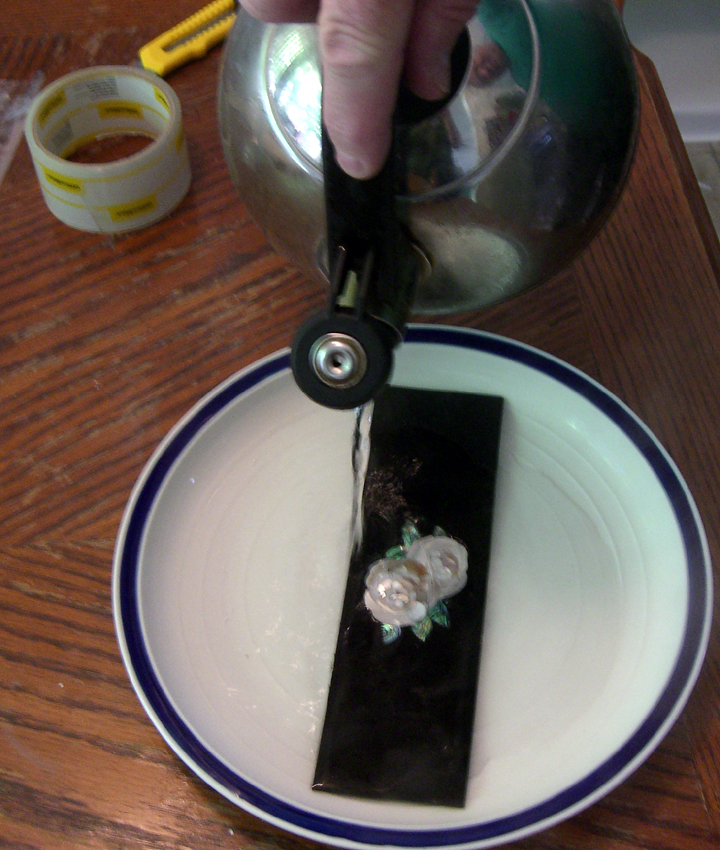
Let it sit in the hot water for 15 to 30 minutes until the inlay floats free without any effort.
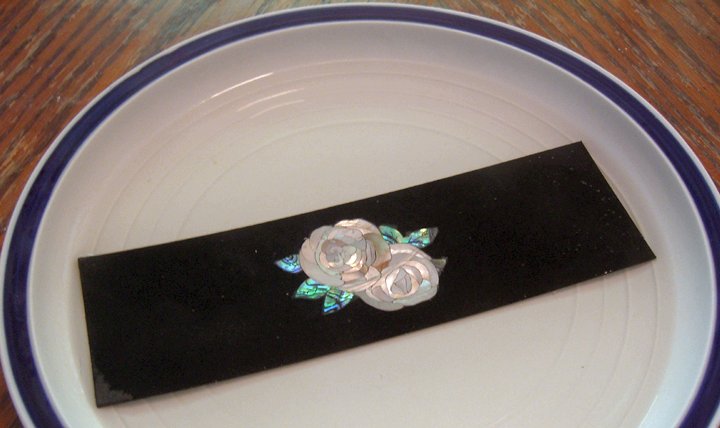

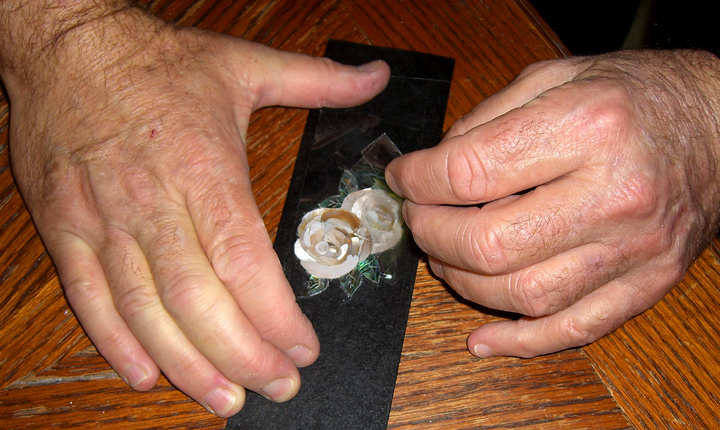
Remove the inlay. Rinse it to remove all the glue and dry with a towel.
|
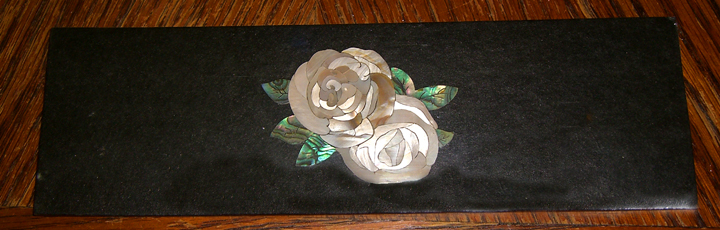
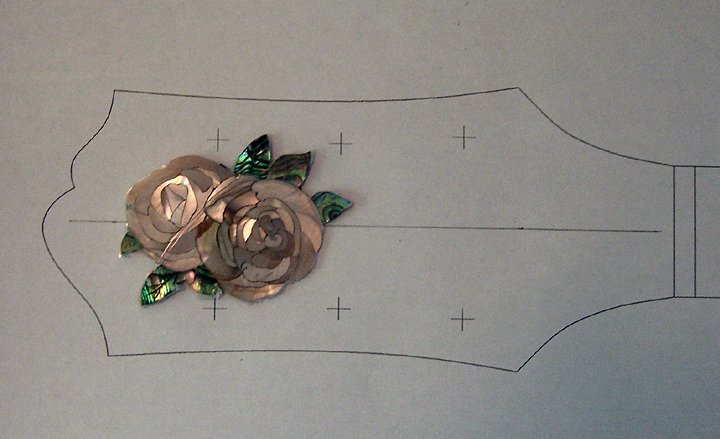
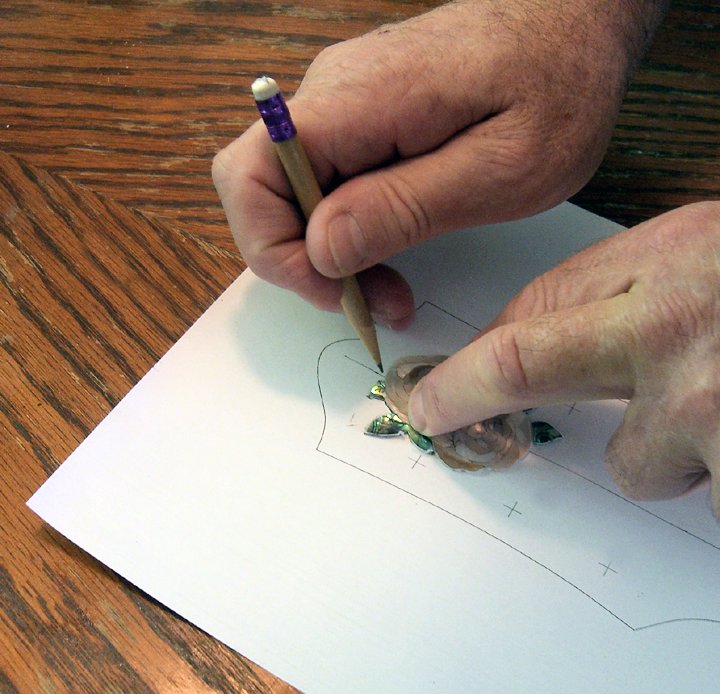
Lay the inlay on the instrument and position it where it is to be inlaid. I am using a “Paper Virtual” instrument so you can see well what should be done. |
|
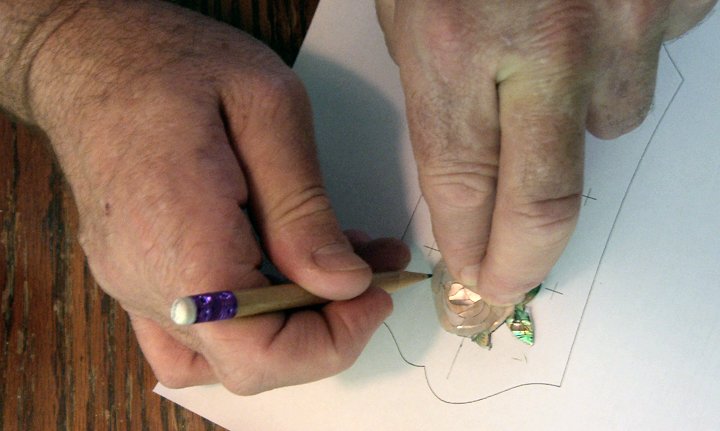
Use a very sharp pencil or scribe to mark the outside edges of the outline of the inlay. Do this while holding it down with your thumb. Some people like to spot glue the inlay in place while they do this. I prefer not to have to pry it off after, so I just hold it down. |
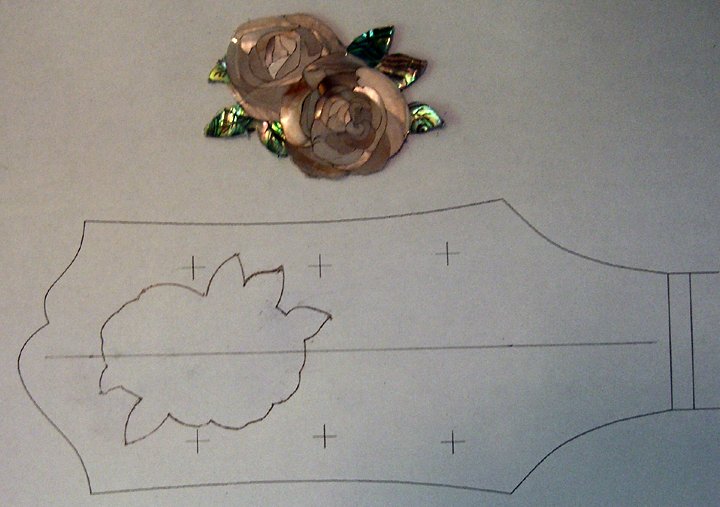
As you can see the outline is now ready to start your routing for the pocket the inlay will go into.
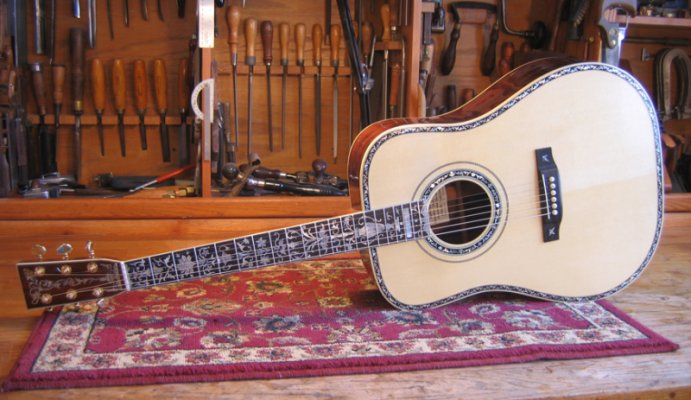
Lawrence Brown Harwood Style Guitar Project
|
CLICK PICTURE FOR CLOSER VIEWS AND MORE INFORMATION
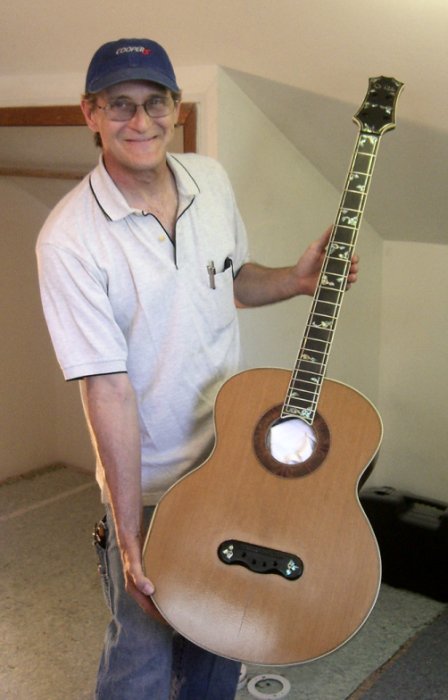
Click picture to see a great luthier |
Example with Paul Knee
|
Using Pre-Engraved Inlays
Fairbanks
|
These Fairbanks Pre-Engraved inlays must be inlaid flush with the surface. Not an easy project for a beginner. They can not be used on a surface with a radius because you will lose the engraving when you grind the radius. The best way to inlay these is to follow the steps described here: 1: Cut the pockets for the inlays just a little tad deeper than the thickness Of the Inlay. 2: Place Epoxy glue (Dyed black if you are going into ebony) in the pocket. Use enough so that you will get just a little squeeze out when the inlay is pressed flush. 3: Use a small square of 1/4" Glass or Plexi-Glass as a clamping caul. 4: Place the inlay in the pocket, but do not apply pressure yet. 5: Apply some candle wax or bar soap to the clamping caul and place the caul onto the inlay. 6: Using a clamp, apply pressure to the inlay until it is flush with the final surface. 7: Let the Epoxy Glue set for 24 to 48 Hours. (Two Ton Epoxy, Not the 5 Minute junk) 8: After the glue has set, take the caul off and carefully scrape and sand around the edges of the inlay to remove all the excess glue squeeze out. be careful not to sand the engraving as it is very shallow and can be sanded away. |
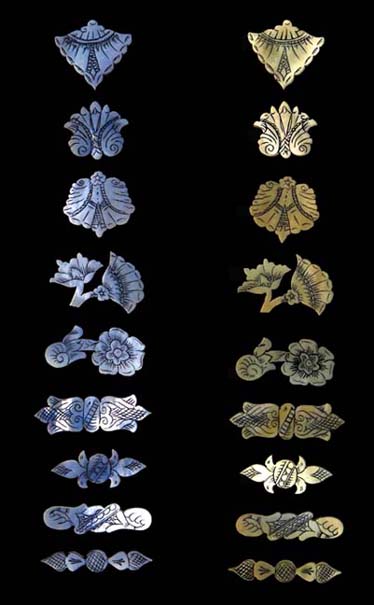
More of our Pre-Engraved Inlays
|
Now you should also look at many photos in our gallery to get ideas for inlays you may want to create yourself. Also getting some of the great videos and books that have been put out by folks like Larry Robinson and Grit Laskin will really inspire you to greater work. A little off the subject but useful to all of you. This is a link to a good tutorial on the art of french polishing by a guy who is quite good at it, Maybe just the best there ever was? Bob Milburn: http://www.milburnguitars.com/fpbannerframes.html Best wishes, Have fun and remember to have that coffee break when it is needed... |
Andy
Luthier Artists
Have a look at these sites for some really stunning ideas:
|
http://www.karol-guitars.com |
Luthier Videos
| Here you will see some of our artists cutting and assembling inlays. They can also be seen making their own homemade jeweler saw blades and tapping teeth into the blade blank with a knife edged steel. At the beginning of the movie you will also see my shop managers with me and two of my sons, Sam and Dominic. |
Music is the Vietnamese Dan Bau (One String with Whammy Bar)
|
Film by Harvey Morrison |
|
You can also see many of Harvey's fine photographs of our workshop and other pictures at these two links: www.redwoodmountain.smugmug.com |
Blues Creek
Anthony Dewar Inlays a Peghead
Click for video in new window
|
Anthony has a DVD for sale showing how to an make Electric Guitar: |

![]()
Sam Van DePaule
Springfield,OR
USA
10:00am - 5:00pm M-F
541-728-0953
© Copyright 2013 LuthierSupply.com. All Rights Reserved

![]()
C. Andy DePaule
Quan 3, Ho Chi Minh City
Viet Nam
By Appointment Only